How to photo edit underwater pictures - the basics
3 - use autocorrect/ one step photo fix
after adjusting colour balance, you can use autocorrect, then crop, for a reasonable result
Underwater photographs, especially those shot while snorkeling, require colour balance adjustment before
applying any quick one-click or auto-fix photo editing.
This applies more to snorkeling photos than those from scuba.
As the scuba diver is usually deeper (than the snorkeler) there is less ambient light (daylight/ sunlight) around, so the strobes are the main light source and create good colour balance.
Colours in photos taken in 3+ metres are beyond being corrected by one-click or auto-fix features.
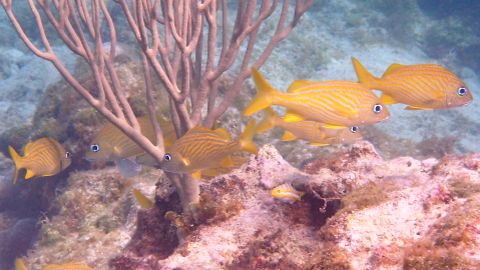
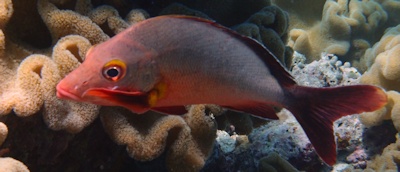
But, after color adjustment the one-click does well. Manual adjustments take longer but give better results (ie the shot below was manual).

The following is recommended for a snorkeling photo for the best results with the minimum amount of effort or fuss.
1 - adjust the 'white' colour balance
2 - crop to compose then resize
3 - use the one-click or auto-fix feature
Choose photo-editing software that has this one-click or automatic correction feature.
The software that comes with your camera should offer all three of the above.
1 - adjust the 'white' colour balance
2 - crop to compose then resize
3 - use the one-click or auto-fix feature
Choose photo-editing software that has this one-click or automatic correction feature.
The software that comes with your camera should offer all three of the above.
Examples below of one-step adjustment with Picasa, Microsoft's Office Picture Manager and PaintShop Pro
Google's free Picasa
Known more as a picture manager than an editor.
Clicking its one-click, 'I feel lucky' turns left hand picture into the one on the right.
Known more as a picture manager than an editor.
Clicking its one-click, 'I feel lucky' turns left hand picture into the one on the right.


Too bright and too much contrast?
Microsoft Office Picture Manager
A free programme with Microsoft Office 2003 or 2007. Still available for 2010.
One click of a button entitled 'autocorrect' (situated at top)
turns left hand picture into the one on the right.
A free programme with Microsoft Office 2003 or 2007. Still available for 2010.
One click of a button entitled 'autocorrect' (situated at top)
turns left hand picture into the one on the right.


Better than Picasa but a bit yellow
Corel PaintShop Pro
A very good, low-cost photo editor. Open 'Adjust' (situated at top).
Clicking 'one-step-photo-fix' turns left hand picture into the one on the right.
A very good, low-cost photo editor. Open 'Adjust' (situated at top).
Clicking 'one-step-photo-fix' turns left hand picture into the one on the right.


Good for something so quick


